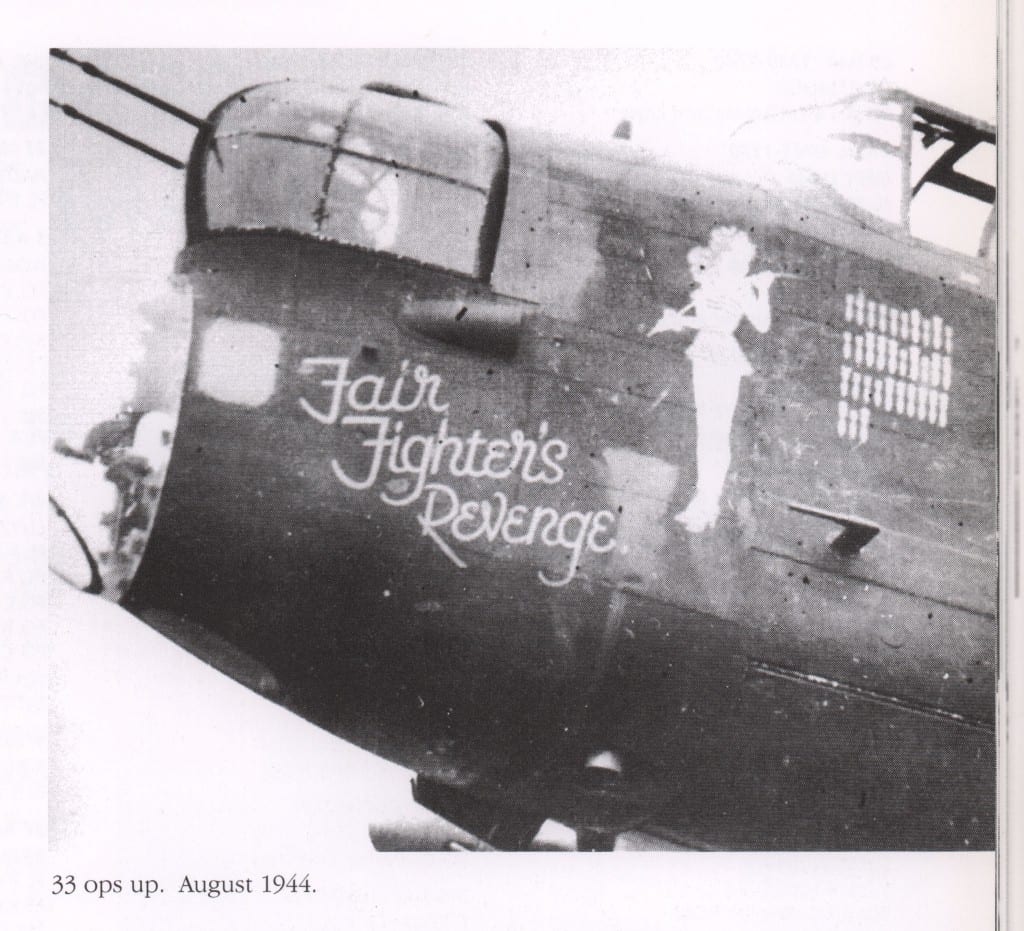
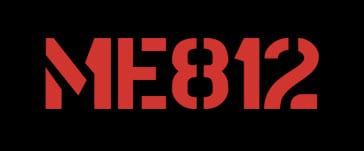
Sorry to all for the long wait since the last build diary. Things have been a little hectic lately for us and work on the model has slowed a little as a result. That said, the results of our poll are in, as you may have seen almost 50% of respondents chose ME812 “Fair Fighter’s Revenge”.
Last time we spoke about the build specifically we had just finished the last big sections of the model, the bomb bay doors, and assembled the turrets.
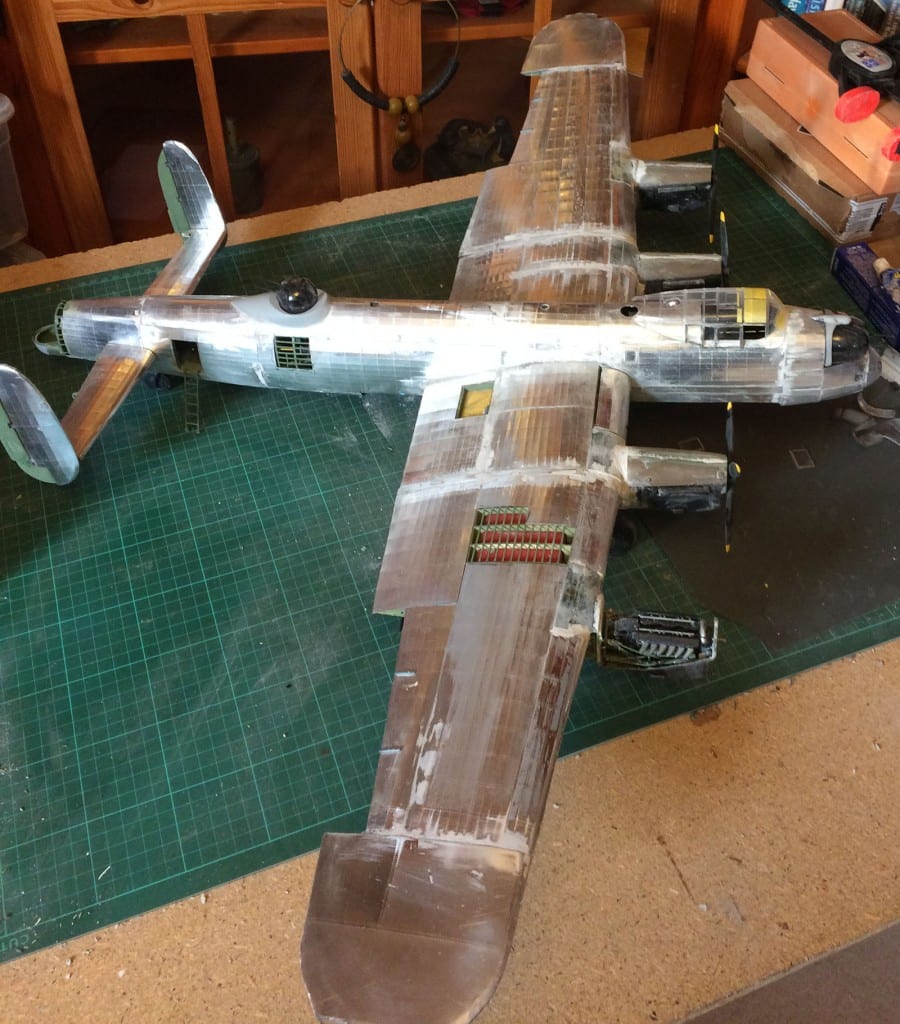
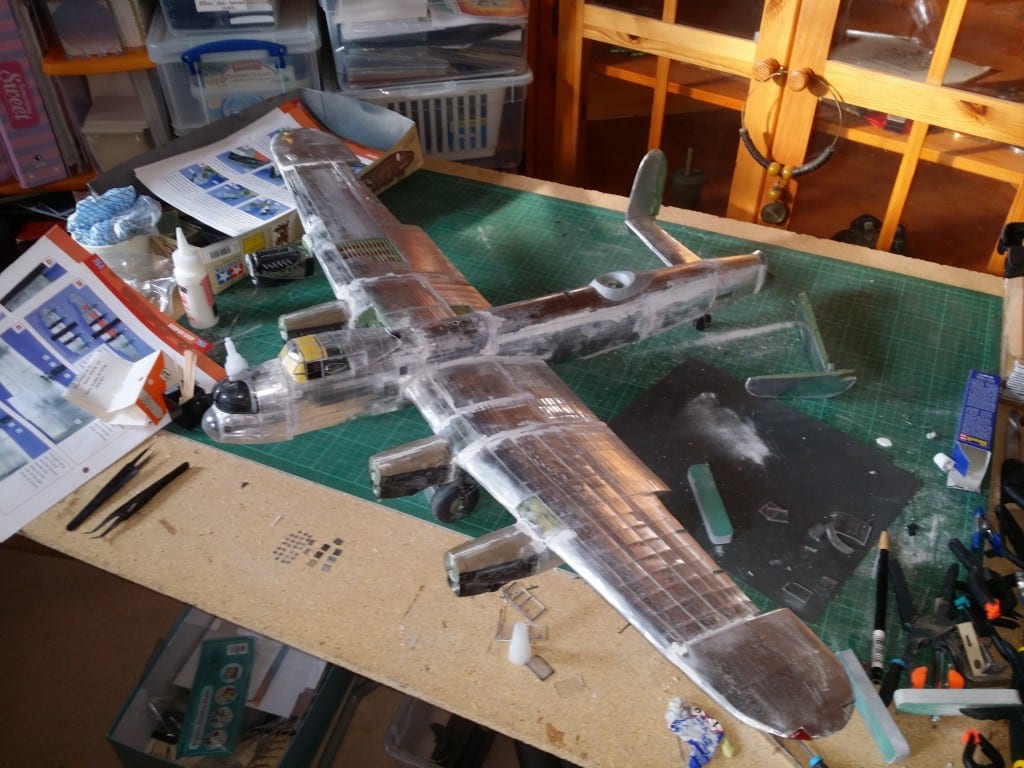
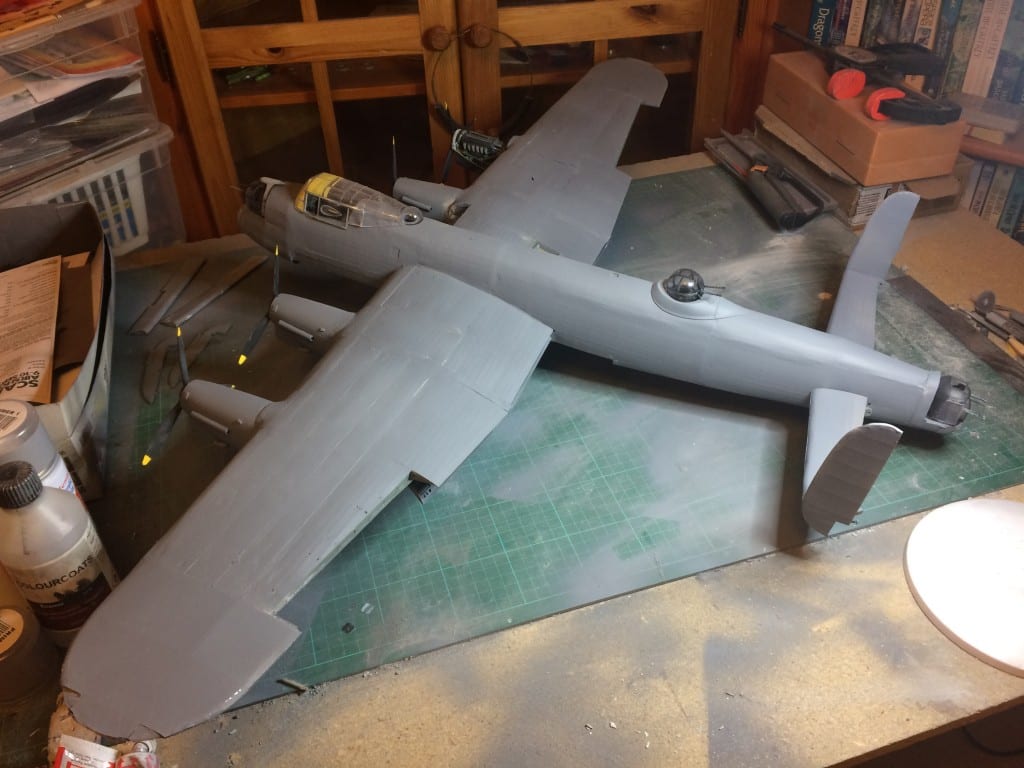
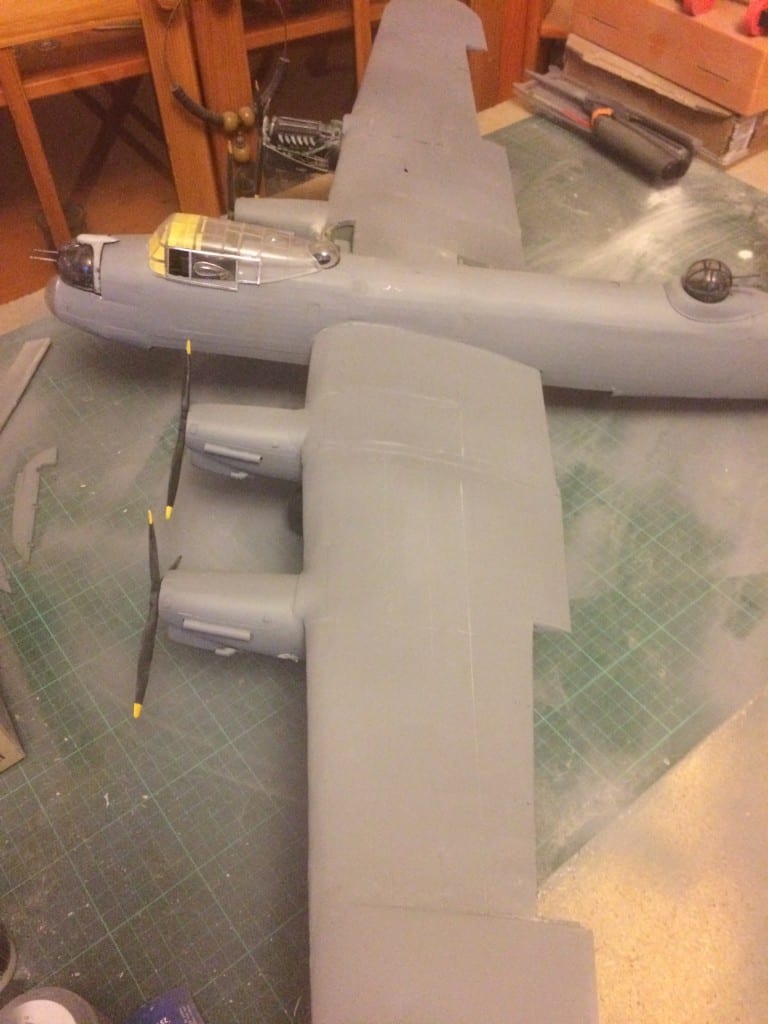
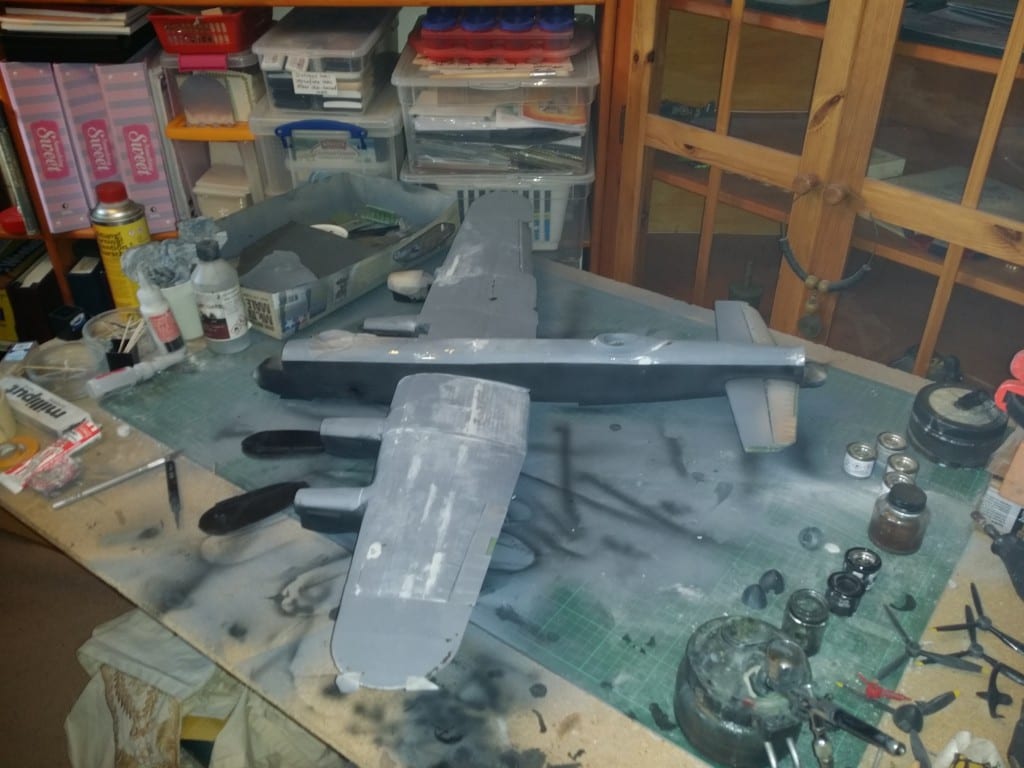
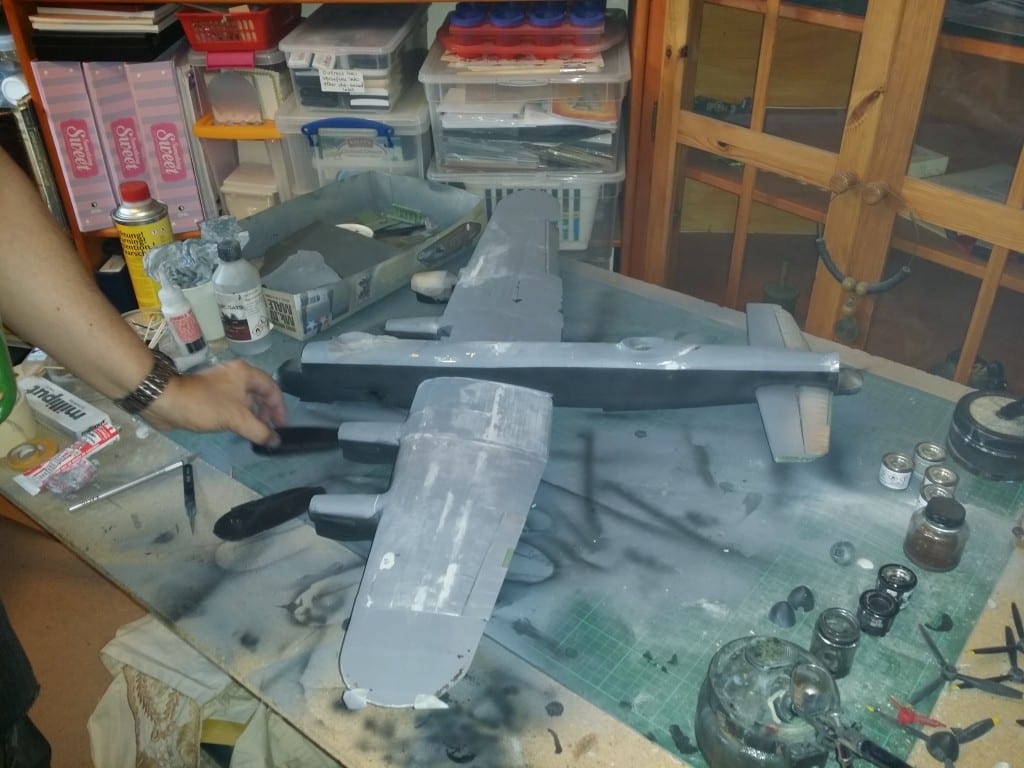
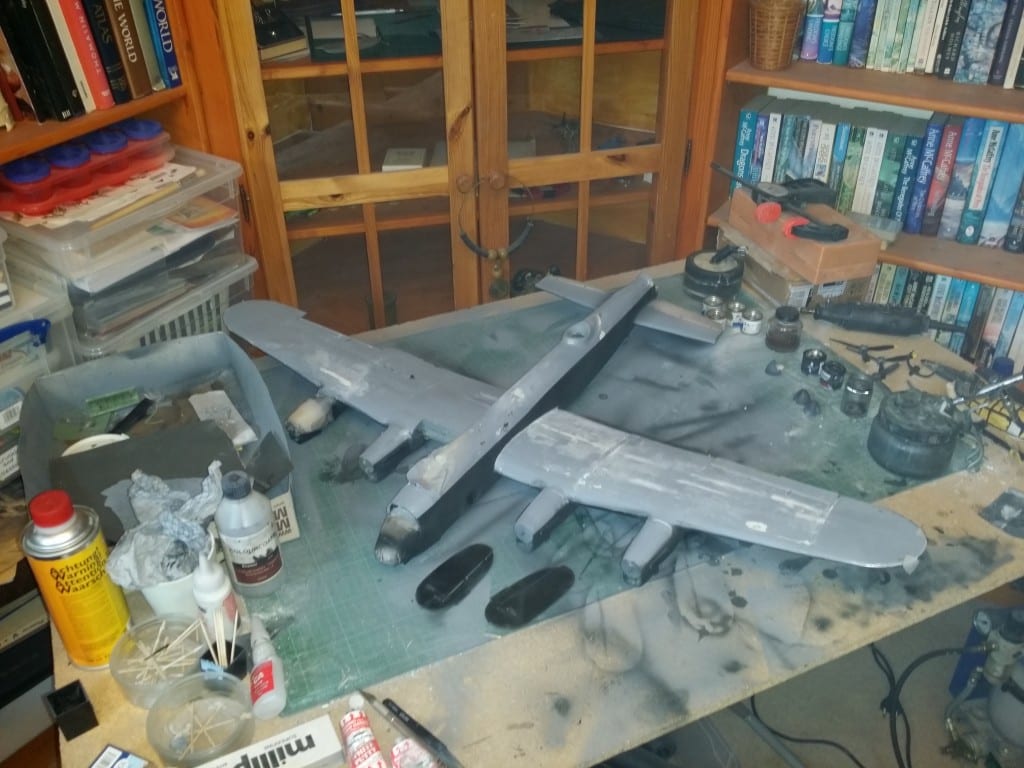
Since then we’ve been working on evening out the fuselage by filling in any gaps.
And adding small details like hatch covers.
Before priming the whole surface to expose any flaws and repeating the whole process until satisfied.
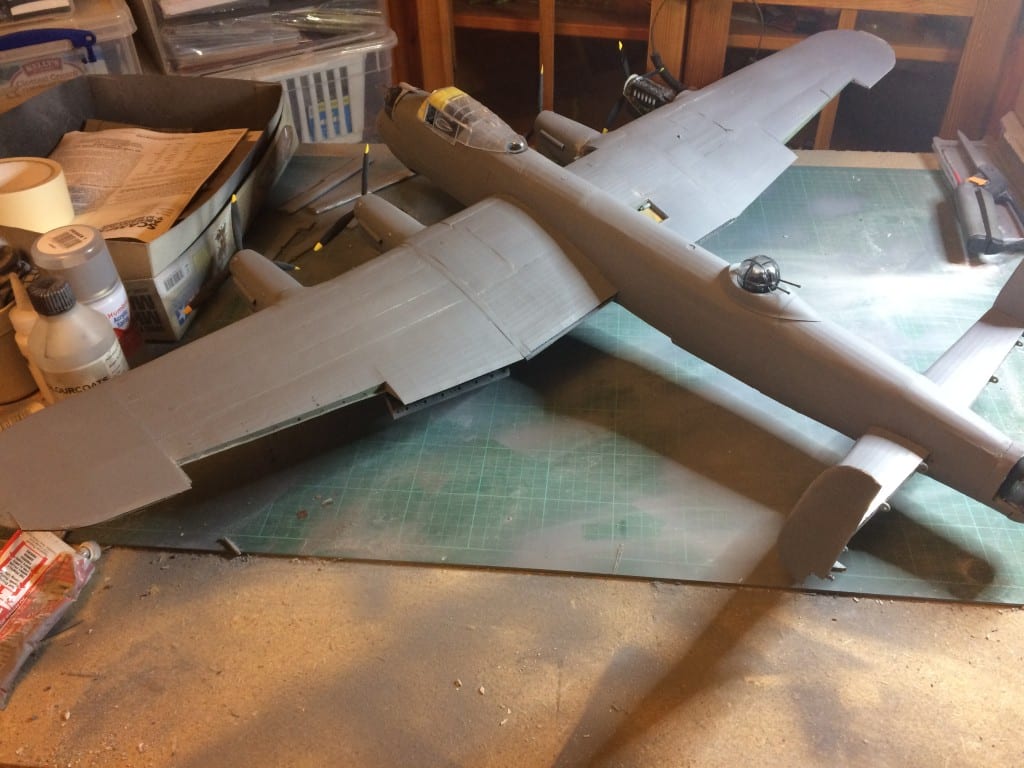
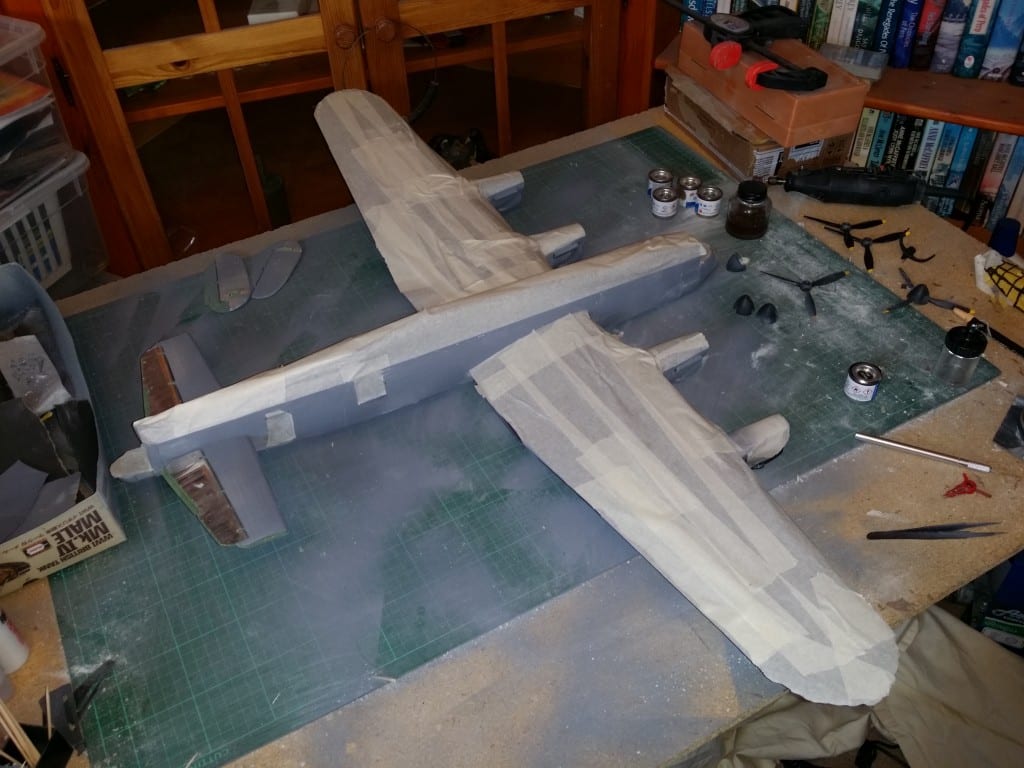
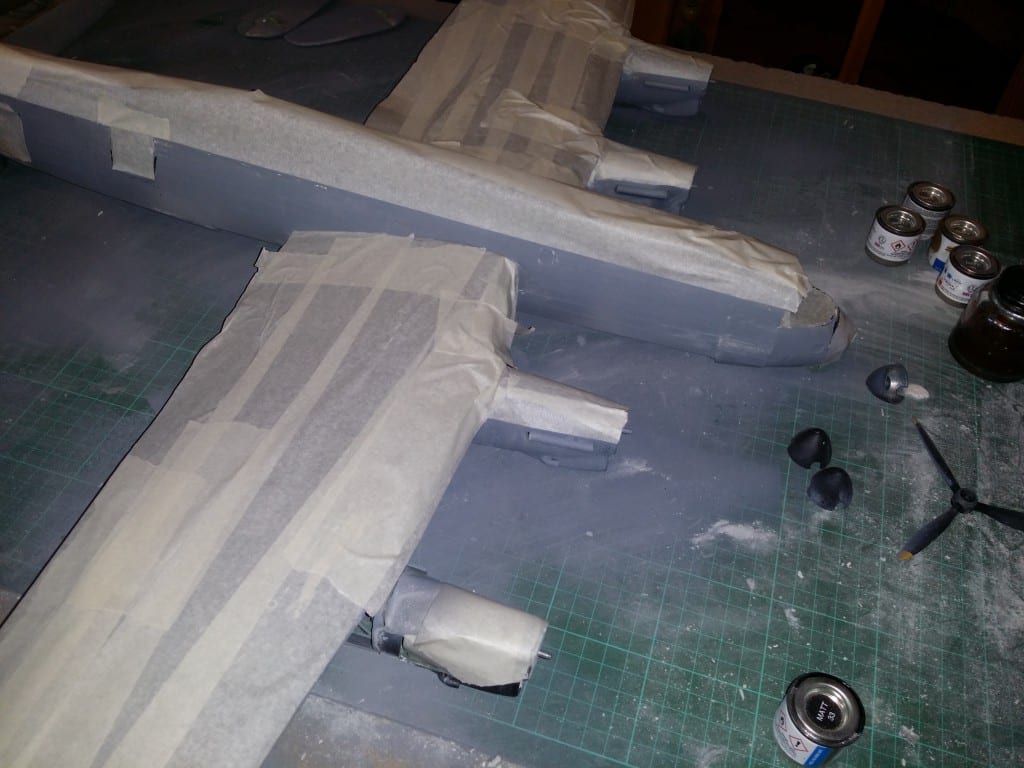
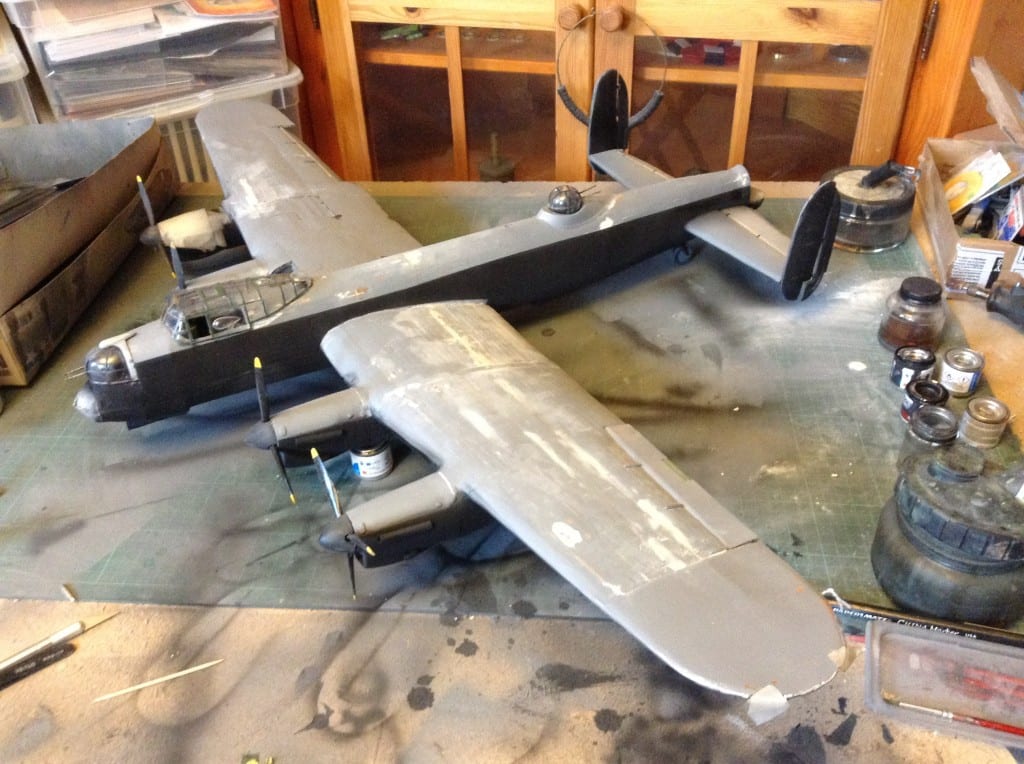
Finally, we moved on to masking the model in preparation for the application of the first coat of paint.
Which was applied in black to the lower part of the model.
Recently though, we have been focussing on the process of creating decals for the model.
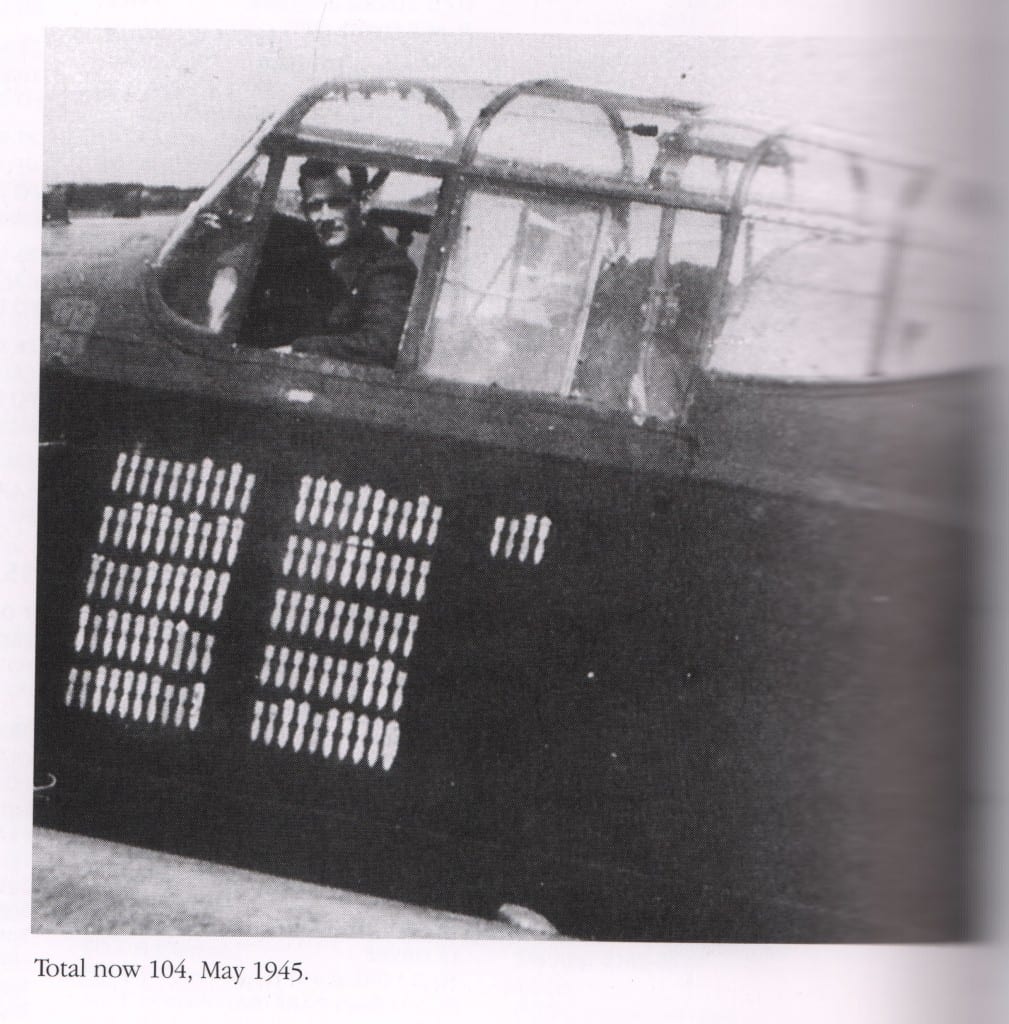
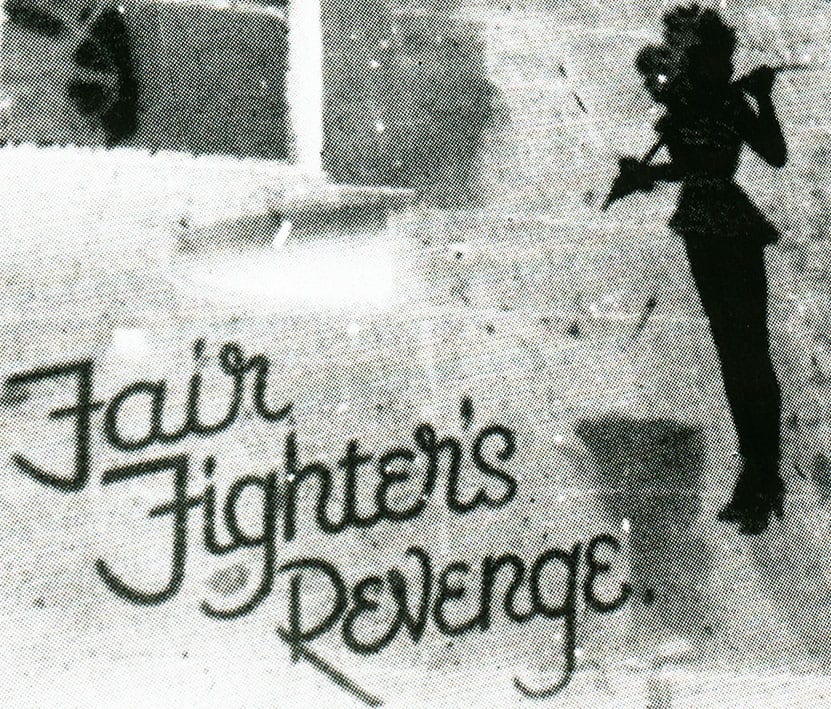
The first step, once the poll had closed was to obtain pictures of “Fair Fighter’s Revenge” which we could use to recreate the nose art and operation talley. We found the most useful pictures in Norman Franks’ “Ton Up Lancs” from which the two photographs below were scanned (pages 169 and 170).
The first step was to take the first image and to manipulate it to remove perspective as much as possible. We also ended up inverting the colours in order to maximise visibility.
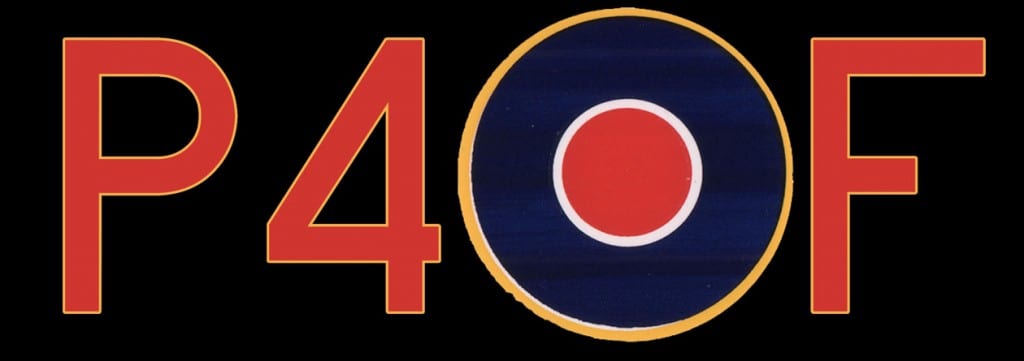
Having done that, the process of recreating the text became one of tracing over the text with colour and then removing any excess, leaving this as a final result (also shown with a plain black background for clarity).
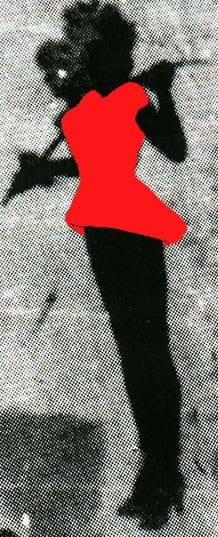
Next, came the far more complex task of recreating the nose art, a woman bearing a fencing foil (not a riding crop as I mistakenly stated in the poll entry). We decided to build up the image in a series of layers, the first of which was the dress.
Then the body, which, it must be said will be around an inch tall on the model (so please forgive the extremely poor quality of the art).
Then the hair, which was built up out of three separate layers to try and make it look slightly more like hair than it did originally.
The foil, which being an inanimate object was one of the more simple parts of the whole process.
And the subject’s shoes which underwent almost a dozen revisions on their own.
Finally, we were able to build up the entire image.
The next task was recreating the operation tally, which was made more complicated by the fact that no two squadrons seem to have used the same style for their tally marks.
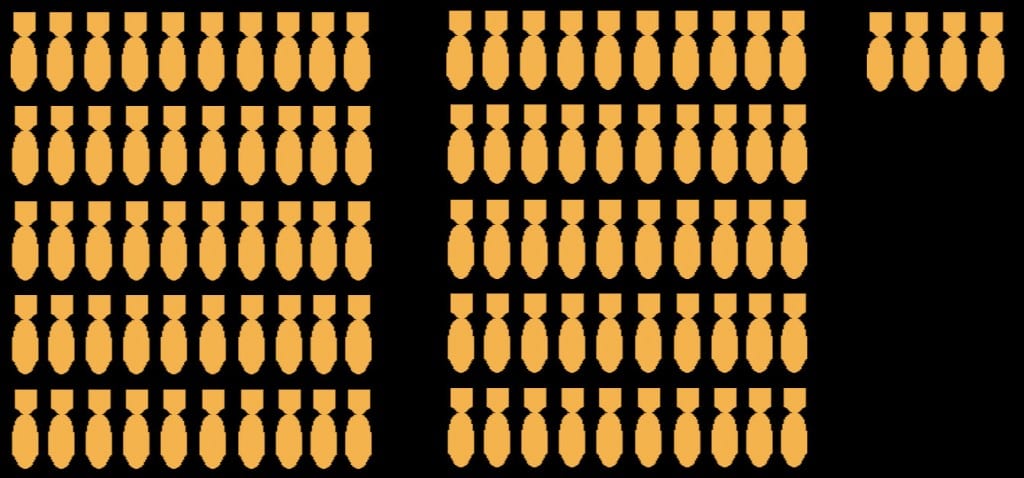
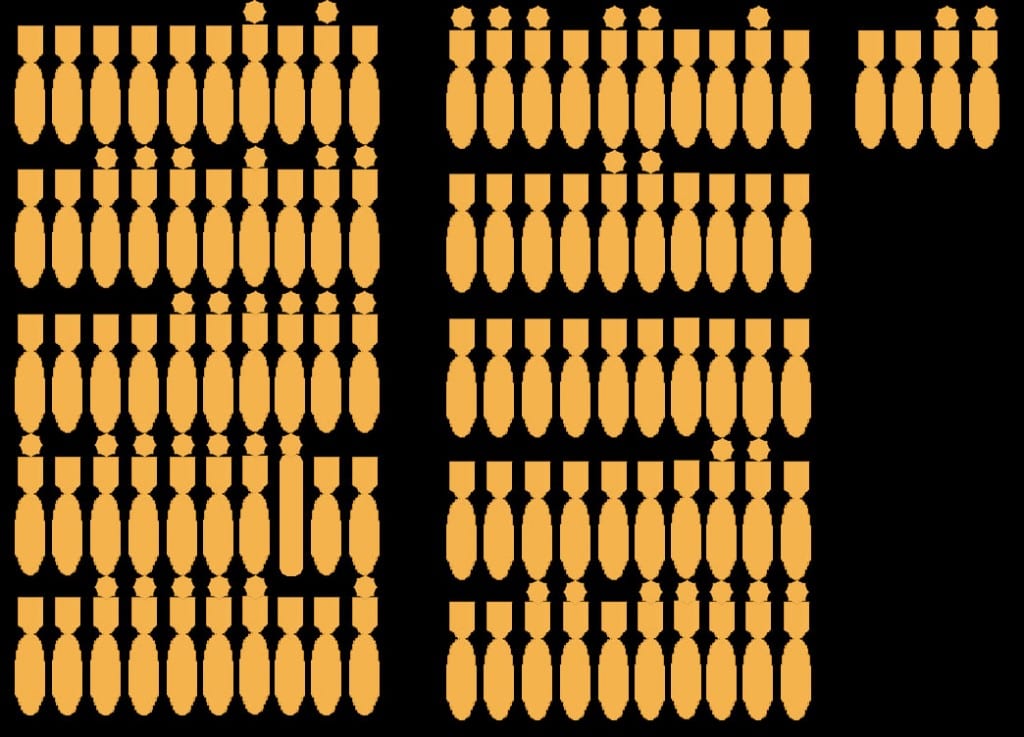
To make the operation tally we started by drawing a bomb (shown here with a black background for clarity).
Before copying the bomb nine times to create a line.
Then copying the line five times to create a block.
And then copying the block twice (before deleting the majority of the second copy) to create the full tally of 104 operations.
In addition to the bombs themselves, around 45 of the markers have an additional detail above the bomb, which it transpired was a sun or a star, which denoted that the operation had been flown in daylight (according to “Ton Up Lancs”). We therefore created a sun symbol to be used.
Before copying it into all of the relevant positions.
We obtained the colour for the bombs (and the roundels for the next section) from the existing decals which came with the model (to finish it as S for Sugar R5868).
Next, we used a downloaded font to recreate the Squadron code and aircraft serial number.
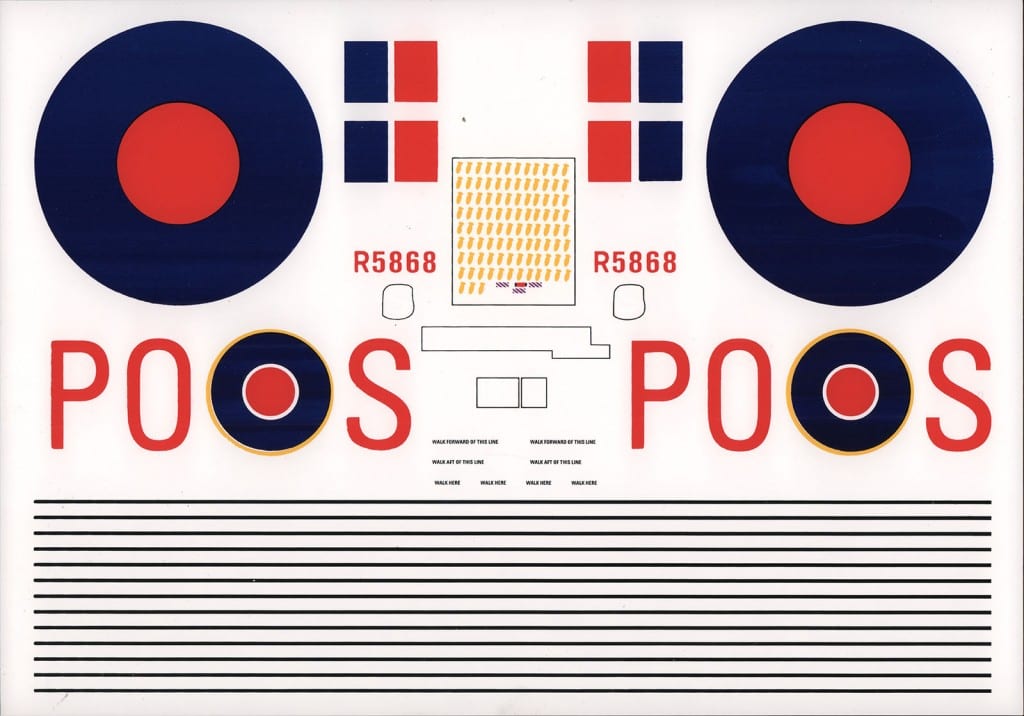
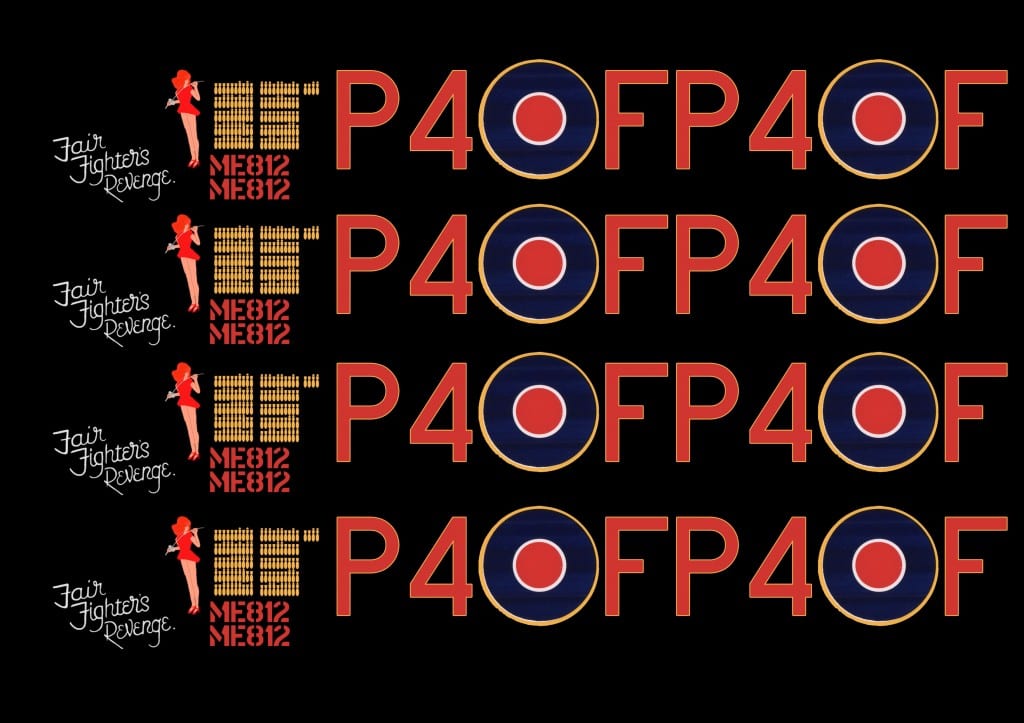
We then assembled all of the components of the decals onto a single sheet. Sizing them correctly in the process.
Before finally adding a few spares.
Bringing us to a close for this week.
For next time we hope to have the painting done and the decals affixed.
