Interlude 3 – Decision Time

The time has finally come for you to have your say.

We need help deciding which of the following aircraft to finish our model as.

The aircraft were selected from the many suggestions given to us over the last few weeks and the archive team chose their favourites, we’ve then taken any aircraft which had more than one person favouring it.

The options are:

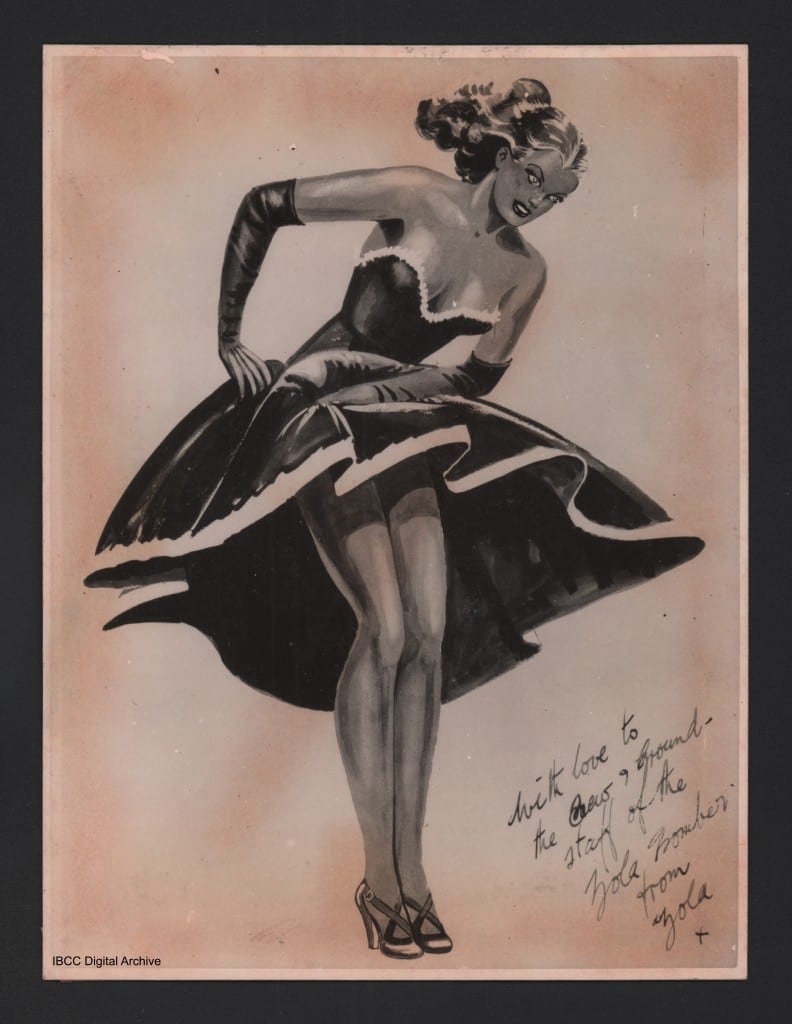
W4133, WS-Z (in some places rendered as WS-S) of 9 squadron, known as “Zola” after a newspaper comic character.  The archive has been fortunate enough to digitise a couple of pictures showing the nose art.  Zola crashed near Bardney on a cross country training exercise in August 1943 killing all who were on board.

Clyde-Smith Zola 2 nose art

ME812, first AS-F later P4-F with 166 and 153 squadrons, known as “Fair Fighter’s Revenge”, with the nose art showing a woman in a short skirt holding a riding crop.  ME812 completed over 100 operations and participated in both operations Manna and Exodus.  We would probably use the aircraft’s final artwork.

JB405, PH-H of 12 squadron, known as “Hellzapoppin” with nose art showing a pair of devils with pitchforks.  JB405 was lost in May 1944 on an operation to Mailly le Camp.  This aircraft is also represented in material which we have been given to digitise.

ED888, PM-M of 103 squadron, known as “Mike Squared” the single most veteran Lancaster with 140 operations attributed to it.

ED611, KM-U and later JO-U of 44 (Rhodesia) and 463 Squadron, known as “Uncle Joe” decorated with an image of Joeseph Stalin in a Soviet star and stars in place of the more common bombs as operation markers.

Finally, R5868, PO-S (originally OL-Q) of 467 squadron, known as “S for Sugar”, kept at the RAF museum at Hendon.  Participated in 137 operations including operations Manna and Exodus.  This is the default option which came with the model.

This poll will be open until the 6th of October.

Part 22 – Trials and Errors

Hello again to all who are reading this.  As we approach the end of the build we’ve been thinking on all the suggestions that have been given to us over the last few weeks.  Later this week or early next week we will be putting up a poll of a short-list selected by the IBCC Digital Archive team from all the suggestions which were submitted to us for the decoration we should use.  At that point, the decision will be in your hands.

Last time we started on the nose and mid-upper turrets, finished off the rudders, the vertical stabilisers and added the skin panels to the nose section.
Pic 21-27

This time we worked on the mid-upper and rear turrets, the bomb-bay doors and started some work on the canopy.  Here are the parts which came with the relevant issues.
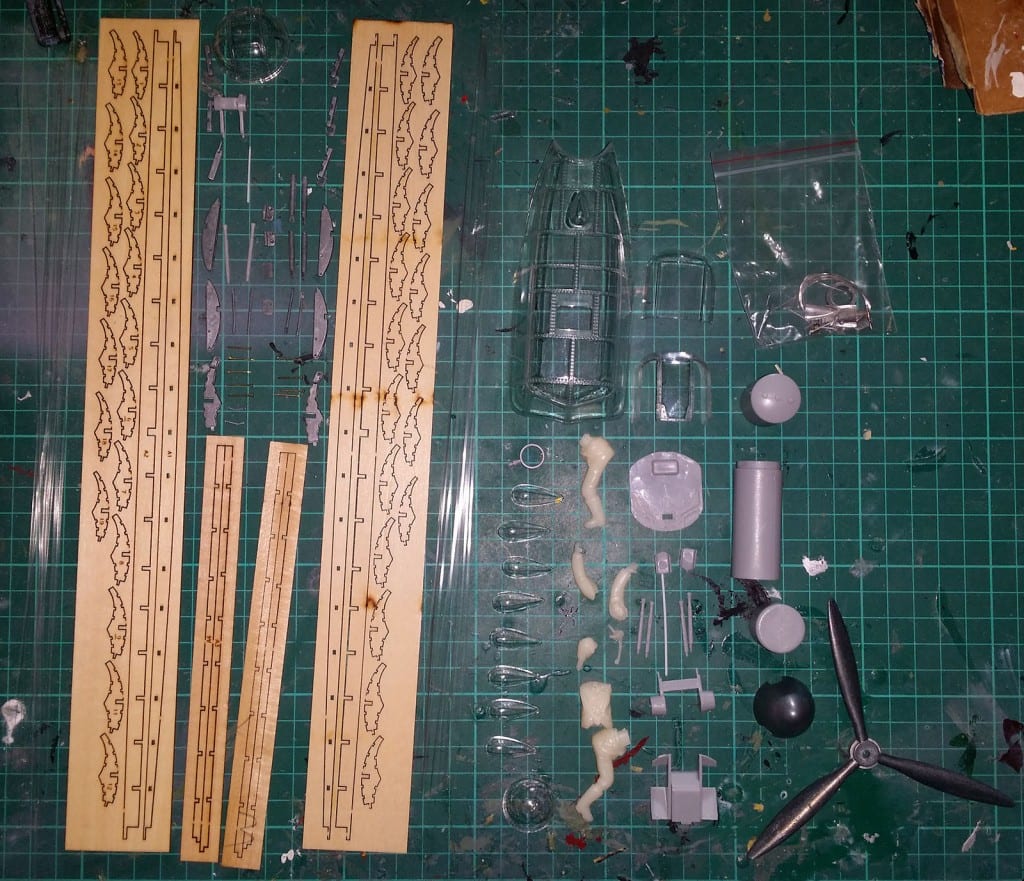
Pic 22-01

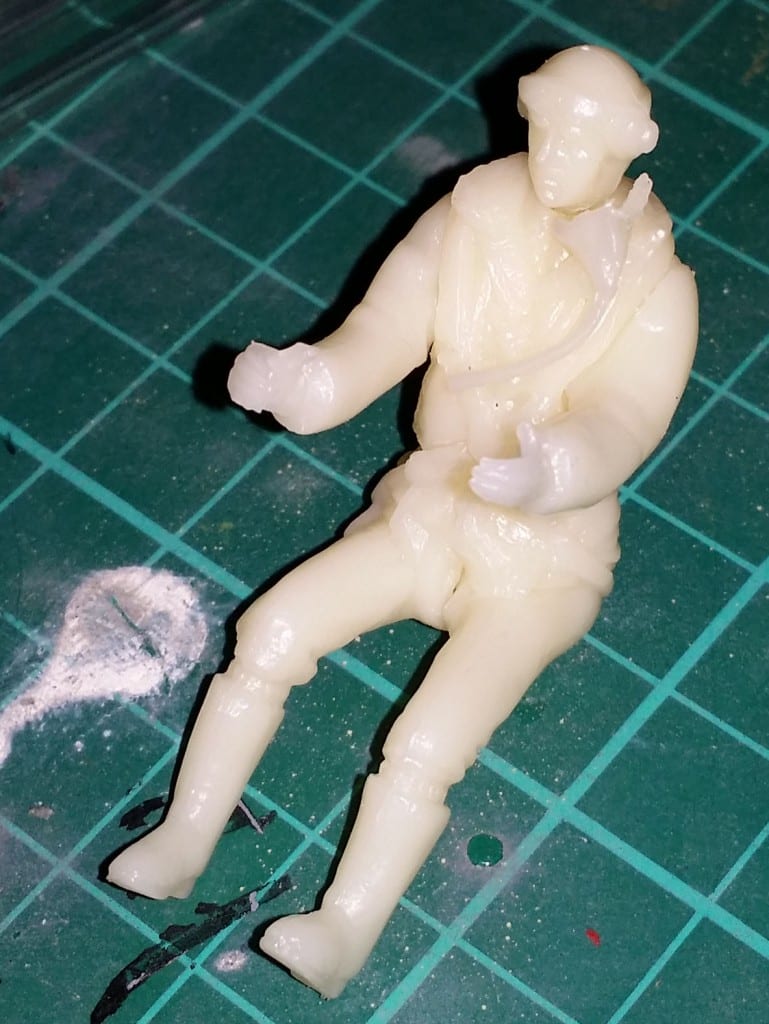
The first thing we did was to assemble the model of a pilot so that we could use it to properly position the foot pedals and control column in the cockpit.
Pic 22-02

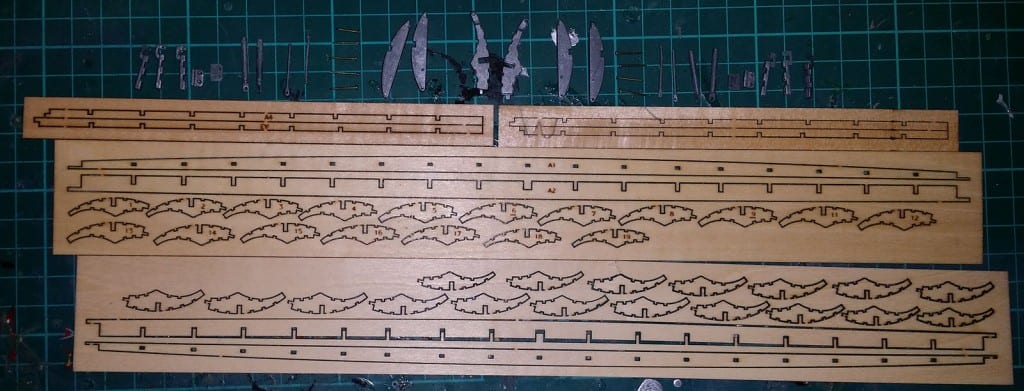
Next, we moved on to one of the major tasks of this diary entry, the construction of the two bomb-bay doors.

Starting with these parts.
Pic 22-03

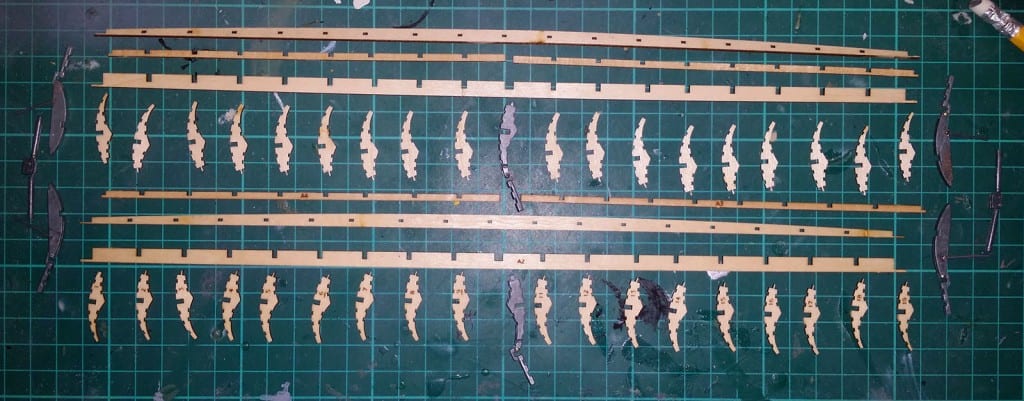
First, we extracted all of the parts from their frames, and assembled the hinges.
Pic 22-05

Then, we assembled the basic frame of the doors.

Pic 22-06

Before adding the stringers.

Pic 22-07

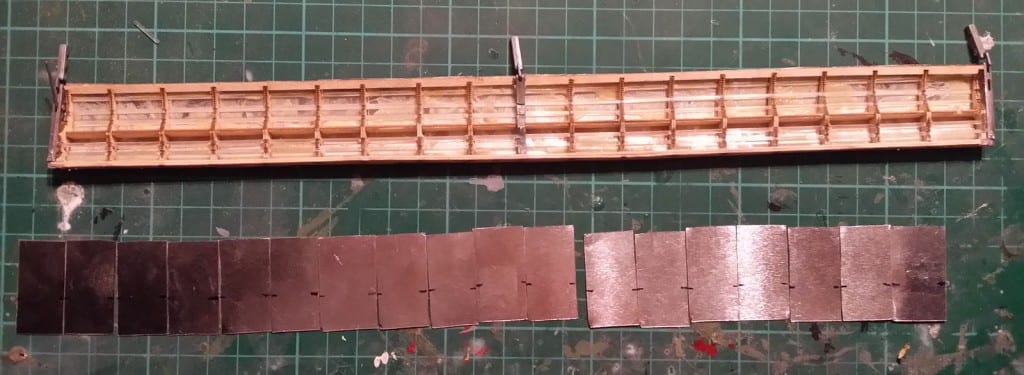
Having done this we then sanded the frame into shape, before beginning to prepare the 72 separate metal panels which were cut from a sheet of metal a few weeks ago (18 shown here).

Pic 22-08

Each of the panels had to be filed at the edges to ensure a smooth fit with their neighbours and had to be curved (by rolling the pieces over the handle of a knife) to fit the frame.

For the interior panels, even more work was needed.

The interior panels form two curves allowing large bombs (like the 4000lb HC bomb or “Cookie”) to fit inside the bomb-bay.

This meant that first, the line where the panel crossed the bar along the length of the doors had to be drawn onto the panels, followed by bending the panel at that point, and finally curving the two sides into shape.
Pic 22-09

Then, after all the panels had been glued on, we had to add filler to close any gaps, before sanding the doors down.

Pic 22-10

That done, the bomb-bay doors were set aside to be painted.

We next moved on to adding masking tape to the clear plastic pieces which make up the turrets and the astrodome.

First, we added masking tape, and then (with a very sharp knife) slowly cut away all the excess to leave these.

Pic 22-11

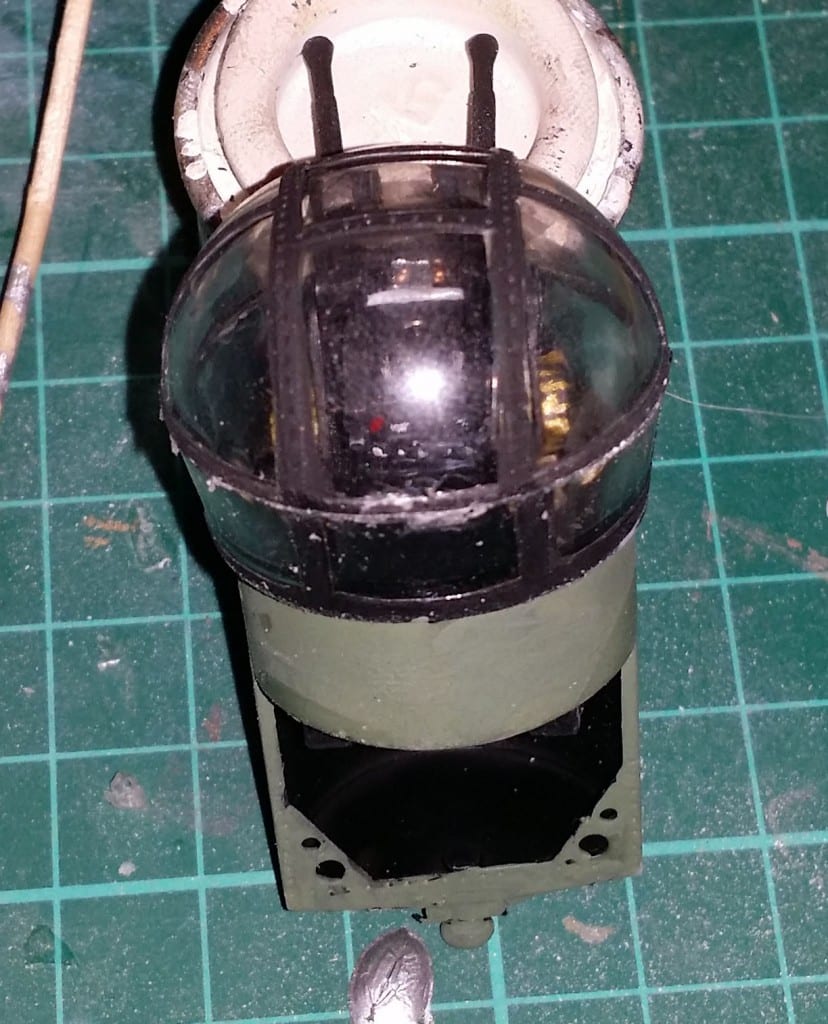
These were then set aside to be painted.  Unfortunately, whilst removing the masking tape from the rear turret following painting, I must have had either some superglue or some paint thinner on my hand.  The result was that the plastic turned foggy almost immediately, and we are currently working on how to salvage the rear turret.

That having happened, we proceeded more carefully with assembling the mid-upper turret and the internal parts of the rear turret.
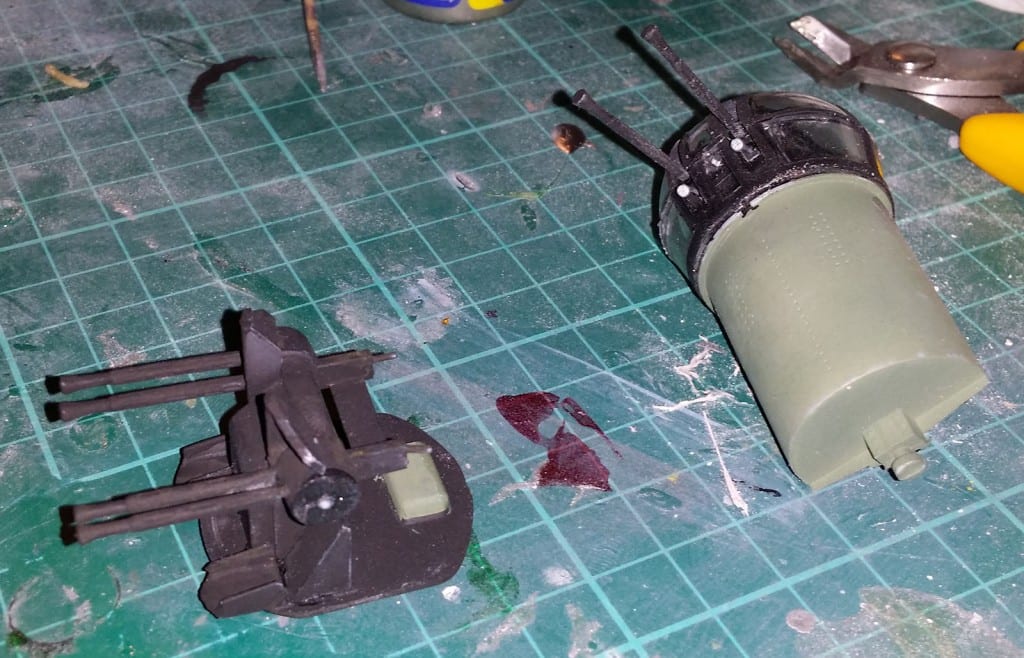
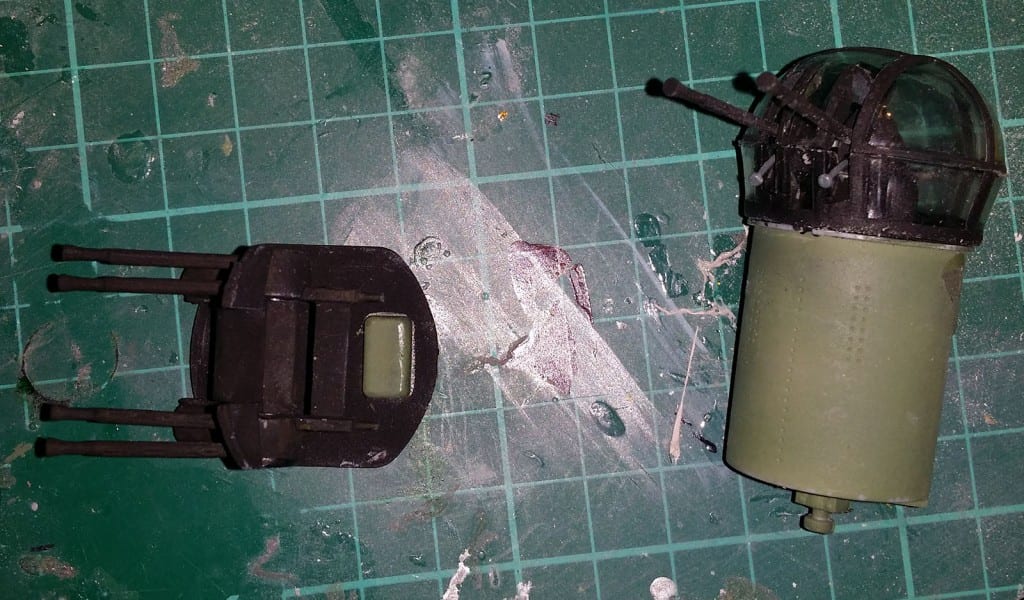
Pic 22-12 Pic 22-13 Pic 22-14

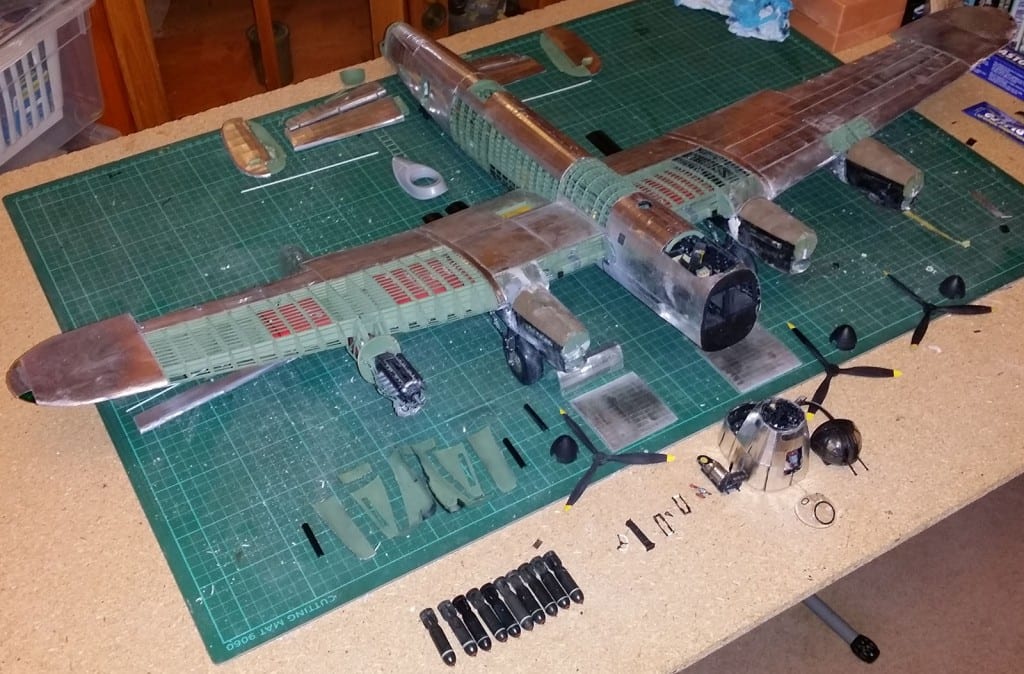
Below are all the parts worked on this week, including the last propeller and its spinner.
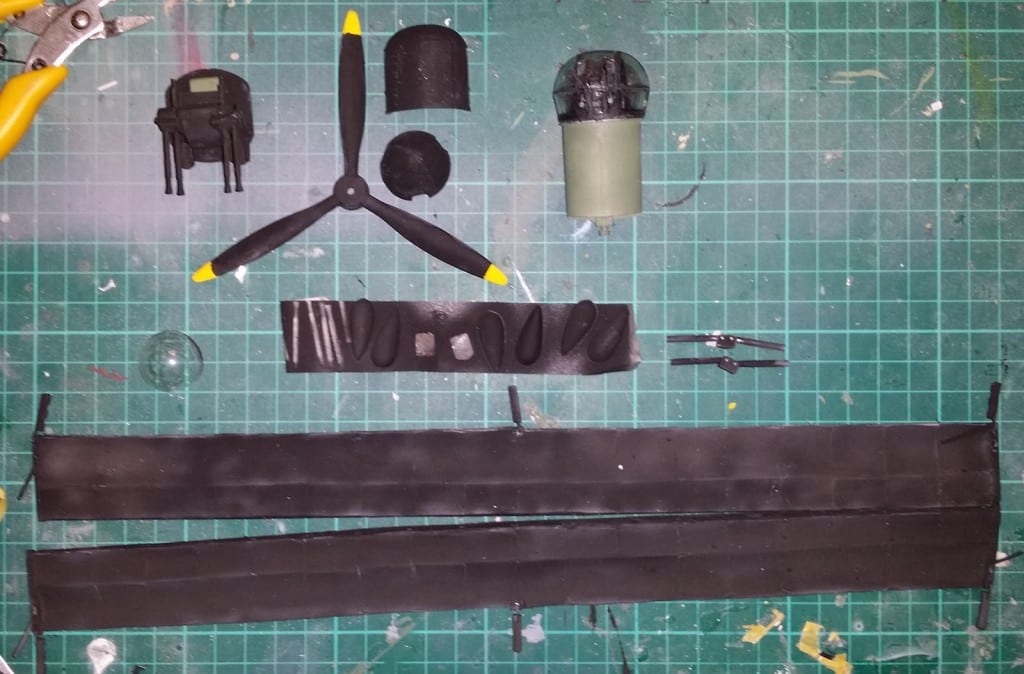
Pic 22-15

Whilst these were being worked on my father was assisting by attaching most of the remaining panels and using filler to close any gaps.  He was also attempting to solve the problem we encountered with the canopy (mentioned in last week’s interlude).
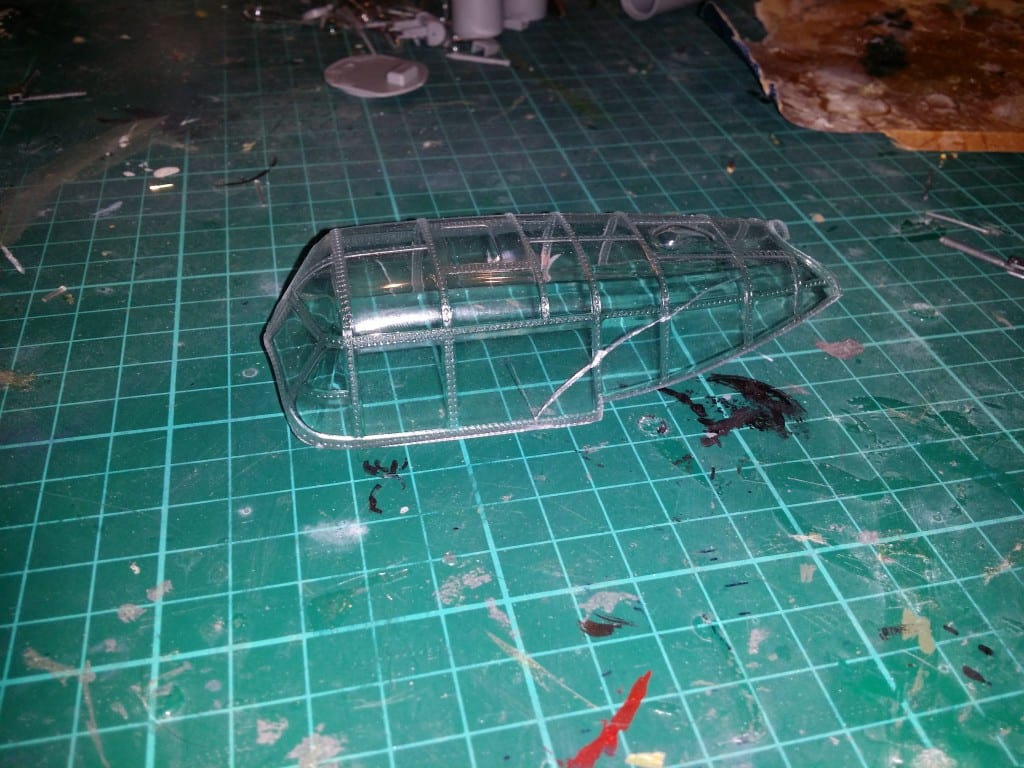
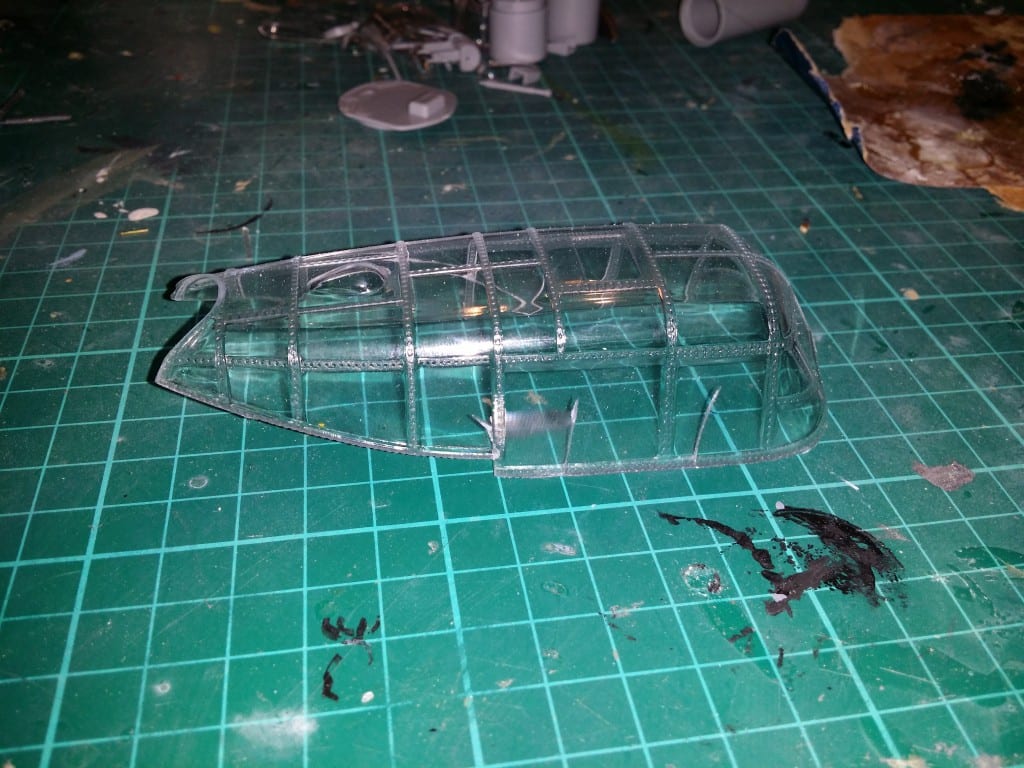
Int Pic 1 Int Pic 2 Pic 22-16 Pic 22-17 Pic 22-18

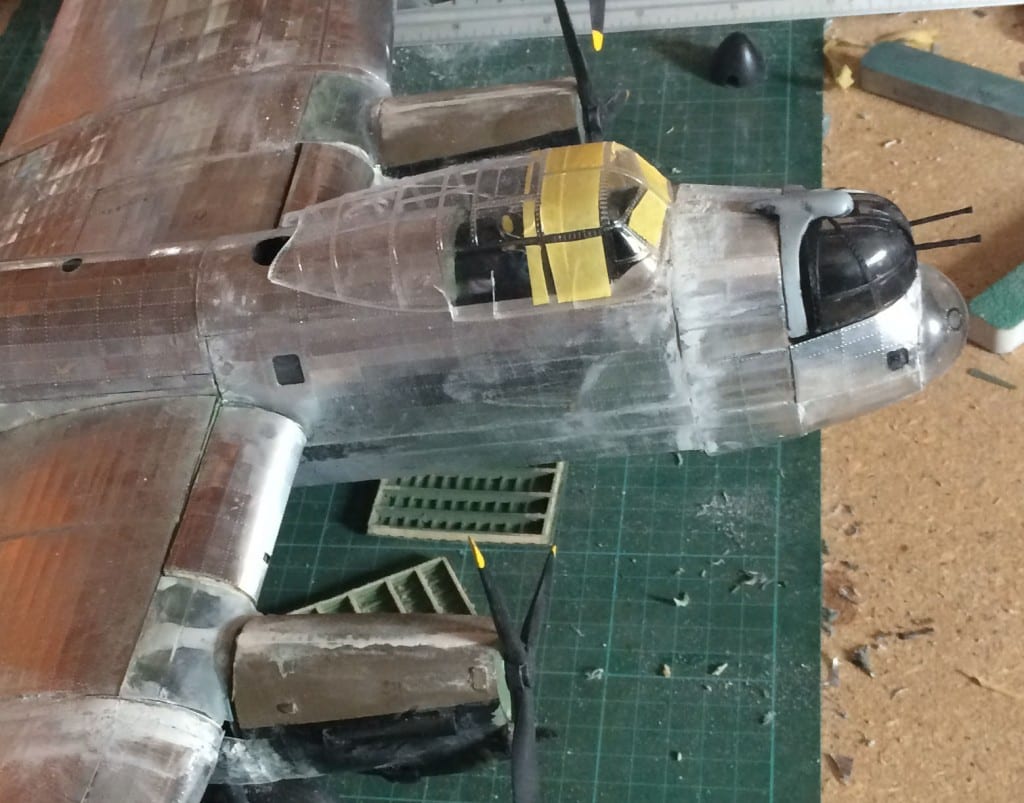
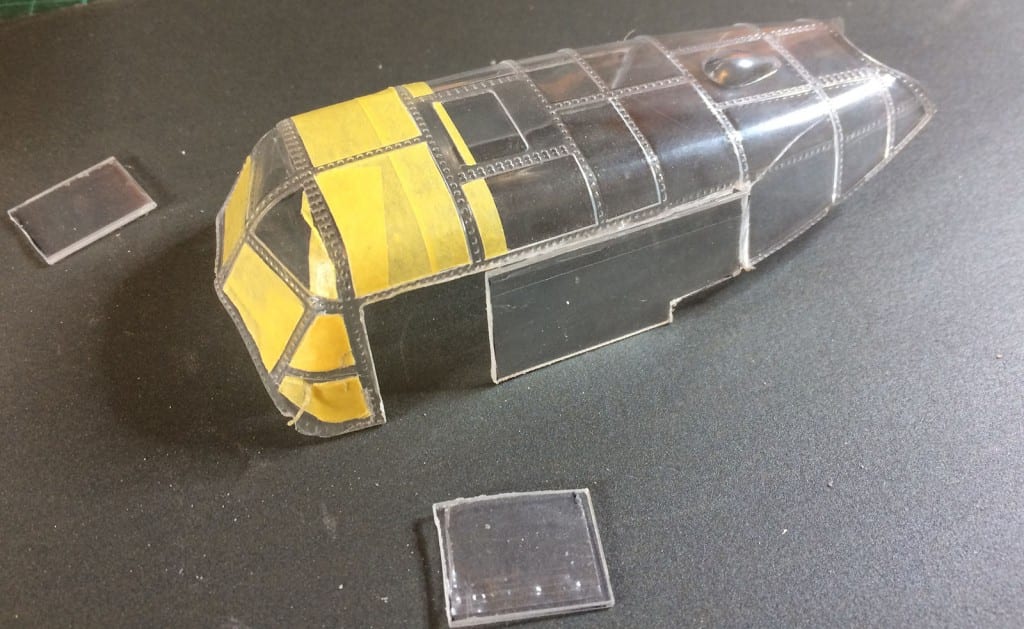
To that end, we decided that all the flat panels with cracks in should be removed and replaced with some plate styrene which we had available.  First, the damaged panels were removed.
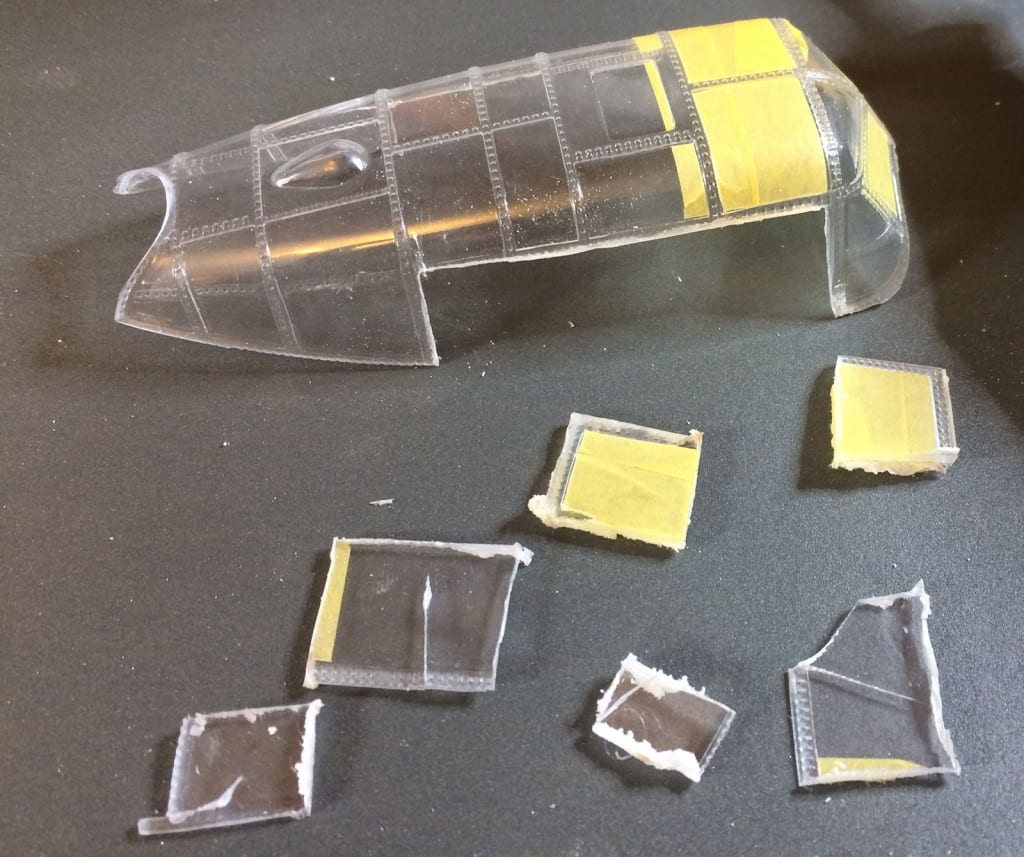
Pic 22-19

Then, a piece of card was used to obtain the shape and size of the panels.
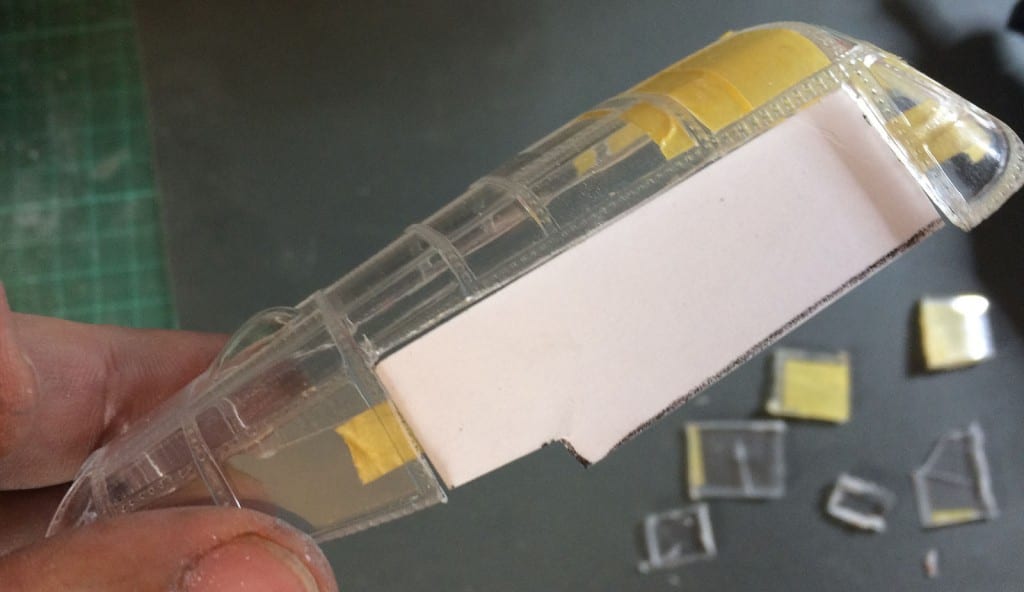
Pic 22-20 Pic 22-21

Finally, pieces of scrap metal were used to recreate the window frames.  The missing section is where the cockpit windows will be slid back, as they would be on the ground (we also intend to add a lower rail in that area).
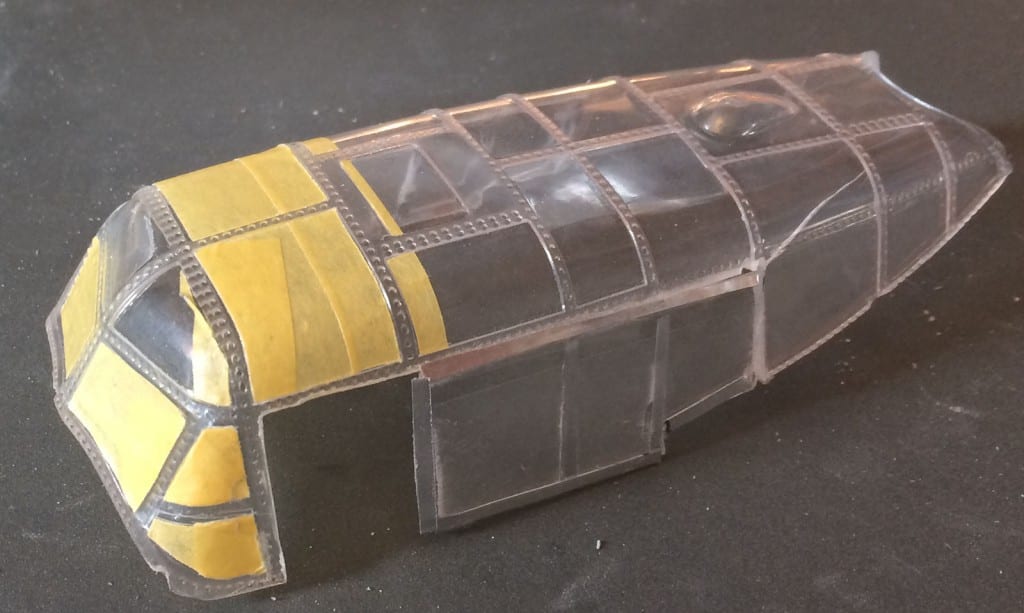
Pic 22-22

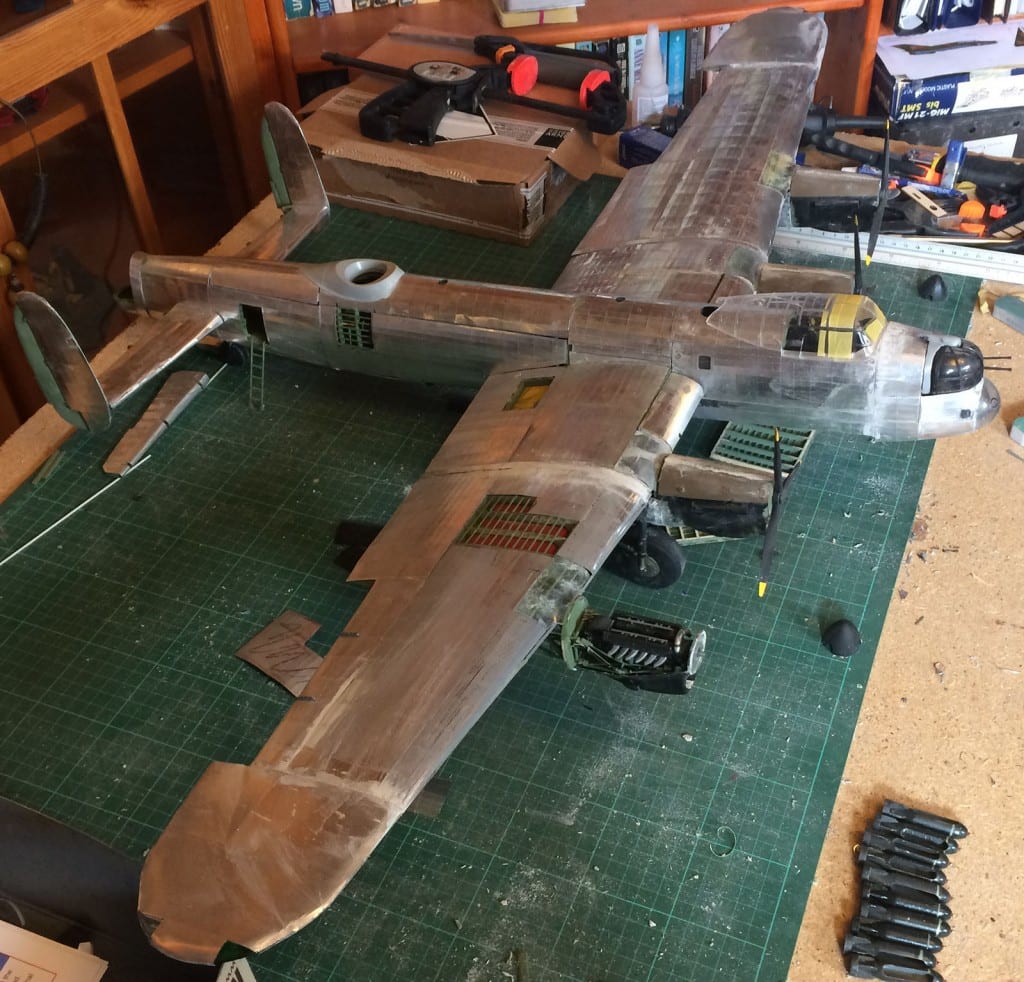
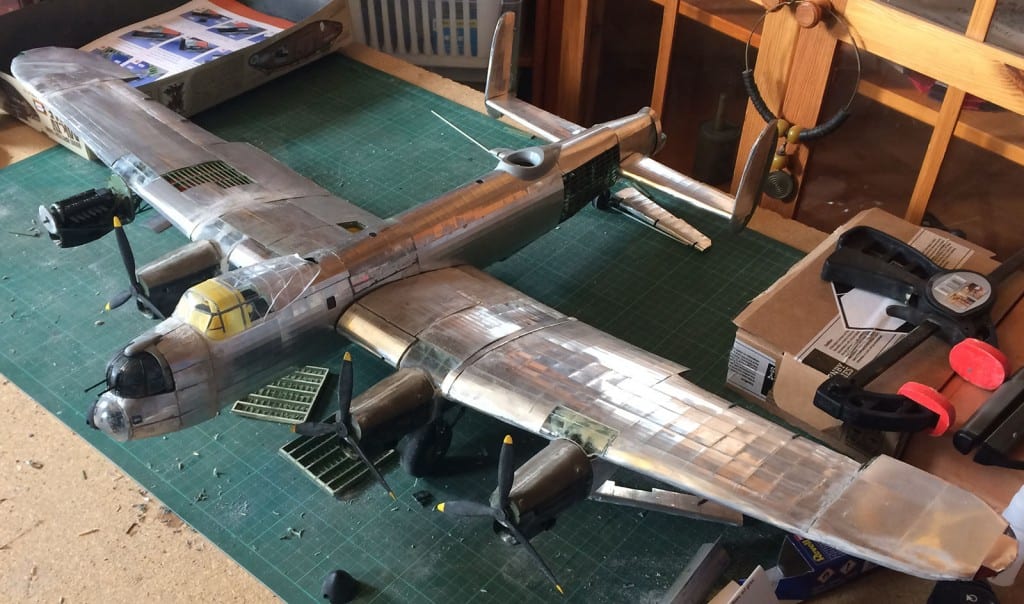
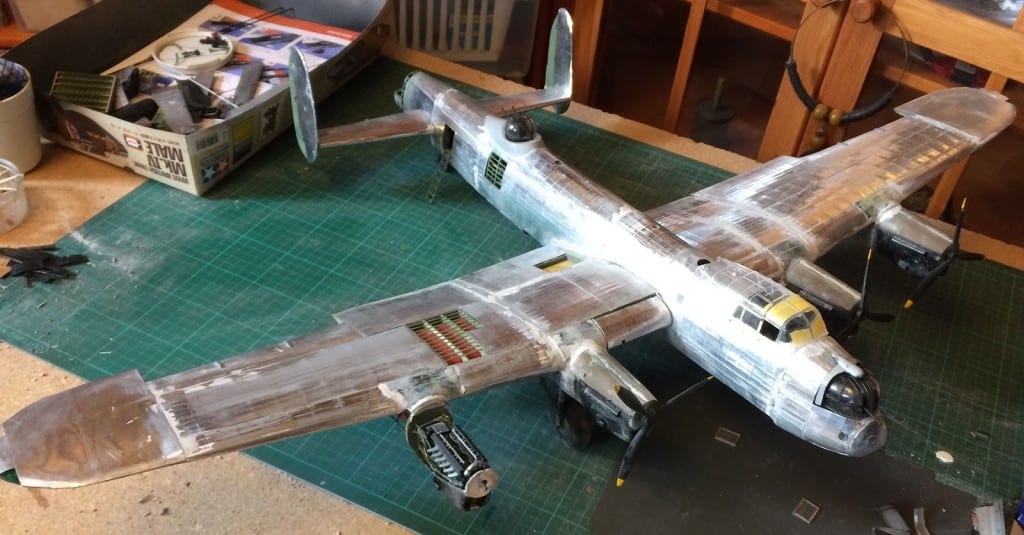
Bringing us to our conclusion for this build diary.
Pic 22-23 Pic 22-24 Pic 22-25

Our hope is that the next build diary will be the last focussing on the Lancaster itself, and that the diary will cover attaching the last few details and painting the model.
 

Interlude 2

Hello everyone, unfortunately we haven’t progressed far enough for a build diary this week.


Unfortunately, we have run into a substantial problem.  As you can see in these two pictures the Canopy is rather heavily cracked.

Int Pic 1 Int Pic 2

We would like to appeal for either advice as to how to fix the canopy, or alternatively, to ask whether anyone knows where we can get a replacement part from.  We have not been able to find a replacement issue or part through the usual channels.


Please contact us either through the comments, our Facebook page or directly at archive@internationalbcc.co.uk if you know of anything that might help us.  Thank you.

Part 21 – Some Skin on my Nose

Welcome back to another build diary, thank you for your patience as we move into the final stages of this build.


This is your final chance to be heard in your opinion of which aircraft we should decorate this model as.  Last time we had a significant response extending our list from four potentials to nineteen.  Next time we’ll present everyone with our shortlist and ask you all to choose between them.  We would prefer if all of the suggestions had photographs of the aircraft, especially any nose art that we could use to guide us in our decorating.  The full list of potential aircraft is below:

  • An aircraft from 582 Squadron (Pathfinders) suggested by a member of Pathfinder Lodge 7255,
  • L7537 of 44 (Rhodesia) Squadron letters KM-L which was shot down on a mission to Dusseldorf in August 1942,
  • LL777 of 61 Squadron QR-S with its nose art of a hand holding a pair of playing cards,
  • LM360 of 61 Squadron QR-O the aircraft which Bill Reid won his Victoria Cross,
  • W4133 of 9 Squadron WS-Z “Zola” which we have good images for in the IBCC Digital Archive,
  • ? 61 Squadron QR-X,
  • JA914 57 Squadron DX-O lost over Berlin 3/4 September 1943,
  • LM621 100 Squadron HW-C lost on ops to Veirzon Rail Yards 1 July 1943,
  • ED497 ? Lost on Ops to Cologne,
  • LL687 408 Squadron HW-C “Berlin Special” suggestion provided with photograph,
  • 50 Squadron VN-B “Baker” flown in by Sir Michael Beetham and Reg Payne,
  • W4157 ? WS-V “Barbara Mary” Lost 17/18 January 1943 provided with photograph,
  • KB791 428 Squadron RCAF NA-A flown on by the proponent’s Grandfather,
  • ? 649 Squadron OJ-A “Heavenly Hilda”
  • ? 50 Squadron VN-N “Nan” an aircraft flown by James Flowers,
  • ? 619 Squadron PB-X Shot down over Heilbron 4 December 1944,
  • ME812 166 and 153 Squadrons AS-F/P4-F “Fair Fighter’s Revenge” flew 100+ operations including Ops Manna and Exodus,
  • JB405 12 Squadron “Hellzapoppin” Flown in by D Hayhurst, for whom we have a collection in the IBCC Digital Archive
  • “S-Sugar” the default which comes with the model.

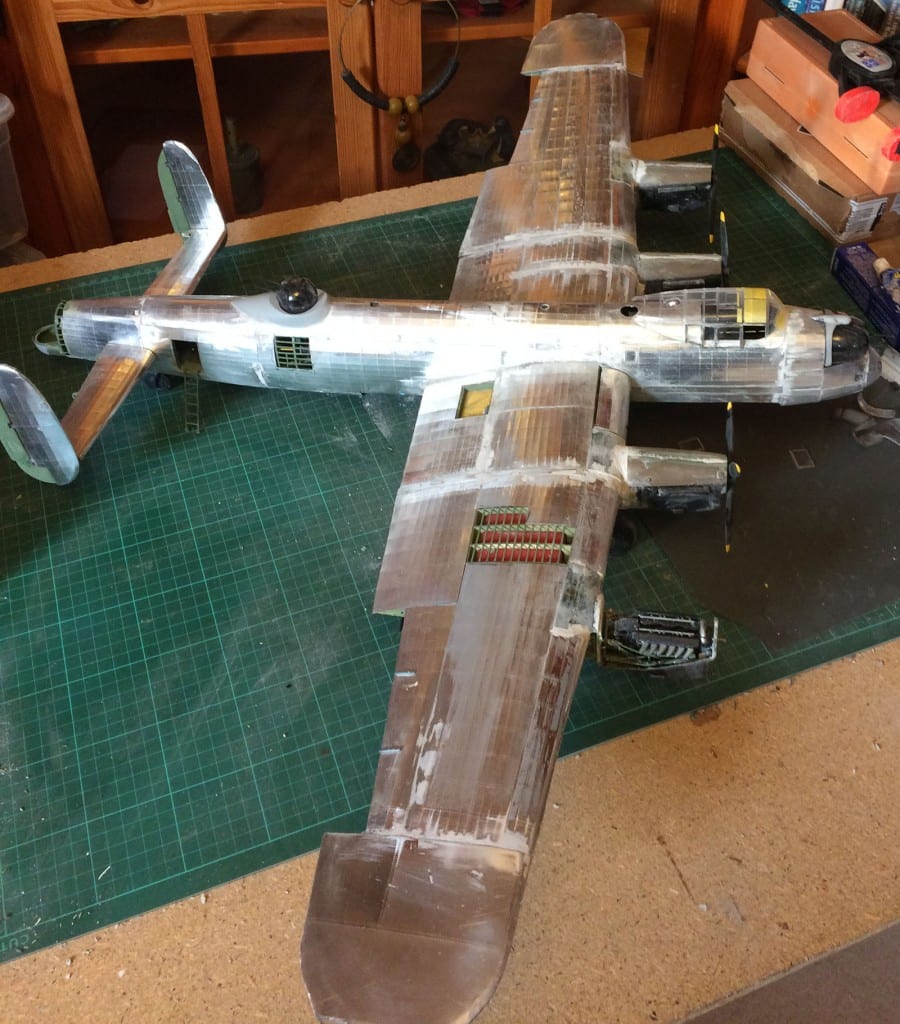
Moving on to the build diary, last time we attached the wings, and covered much of the fuselage in skin.

Pic 20-33

This time we started with these parts.

Pic 21-01

Plus all of the pieces we cut a few weeks ago for the bomb-aimer’s position.

First, we assembled the smaller pieces together to create some of the bomb-aimer’s control panels, hinges for the rudders, and the bomb-sight.

Pic 21-02

These were then set aside to be primed and painted.

Next, we masked up the nose turret canopy for painting, this took a lot of masking tape, a sharp knife and quite a bit of patience.  You can see it here next to some of the other components for the turret itself.

Pic 21-03

Having set aside those pieces for painting as well we moved on to marking up the pieces for rivet marking.  Here you can see all of the pieces of skin to cover the bomb-aimer’s position (18 separate pieces!) with the nose section.

Pic 21-04

And here are all of the pieces prepared for rivet marking, including the three panels which are designed to be detachable.

Pic 21-05

These than all had rivet markings applied, these are the last sections which need treating in this manner.

Pic 21-10

We then attached the hinges to the rudders.  You may notice that one of the hinges is missing.  One of the “T” plates was missing when we opened the bag, the other half of the hinge was applied in the correct place on the main model.

Pic 21-11

Before we finally moved on to painting everything.

Pic 21-12

The nose turret and bomb-aimer’s blister went together pretty quickly after that, as did the installation of the newly finished control panels and the bomb-sight.

Pic 21-13

Here’s a slightly closer view of the nose turret fully completed.

Pic 21-14

The Bomb-sight and control panels, and the cupola.

Pic 21-16

Pic 21-15

And the bomb aimer’s bench.

Pic 21-17

Before we moved on to attaching all of the fuselage panels.

Pic 21-18

And here is a view back through the bomb-aimer’s position from where the cockpit will be.

Pic 21-23

Finally, the blister’s support ring was added along with the two “A-frames” which go inside the blister.

Pic 21-25

Next, the skin and rudders where attached to the vertical stabilisers.  Then these parts were set aside to be painted with the rest of the aircraft.

Pic 21-24

Whilst all of this was going on I had passed the task of getting the engine, undercarriage bay and nacelle cowlings to actually fit together to a modeller with far more experience than I.

After a few attempts he determined that the sections of the under carriage cowlings that were meant to follow the engine bulkhead would never be able to maintain the proper shape, so he removed them and replaced them with a strip of scrap metal from the process of cutting fuselage panels.

Pic 21-06

Before using filler to close gaps around the edges.

Pic 21-07 Pic 21-08 Pic 21-09

He later removed much of the filler, but has not yet reached as far as the dorsal side of the model.

That brings us to the end of this build diary.

Pic 21-26

Pic 21-27

Pic 21-28

Next time we will be building the two bomb-bay doors (with their 72 skin panels), finishing the fuselage and building the other two turrets.